In the Gallery Manager, click on the Edit icon , next to the Gallery that you want to add the images to.
This will then bring up the Gallery Editor screen, which looks very similar to the Add Gallery form, with the notable addition of the Gallery Images button . Clicking this will take you to the Gallery Image Manager, where you can add, modify, reorder and delete images in your chosen Gallery.
On this screen, click the Add Gallery Image button to add a new image to the current Gallery.
This will then bring up a page where you can select the Image file from your device and enter in any relevant information: Image Click on the Select File button to select a file from your device, which will then be uploaded to your WCS site.
Image Information (optional) This is any additional information about the image.
Image Title The title of the image. This will be displayed when the Gallery is added to a page, it's position dependant on which option was selected for the Display Image Title option when the Gallery was Added.
When the image has been uploaded and information entered, click the Save Image button to add it to the current Gallery, and a confirmation message should appear: You can then click the Image List button to go back to the Gallery Image Manager, or the Cancel button to return to the Gallery Manager.
 , next to the Gallery that you want to add the images to.
 .
. to add a new image to the current Gallery.
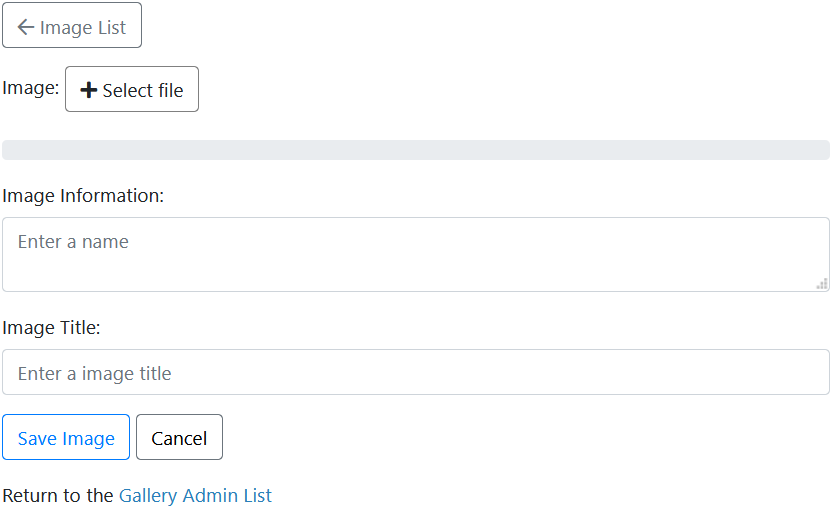
 to select a file from your device, which will then be uploaded to your WCS site.
 to add it to the current Gallery, and a confirmation message should appear:
 to go back to the Gallery Image Manager, or the Cancel button
  to return to the Gallery Manager.