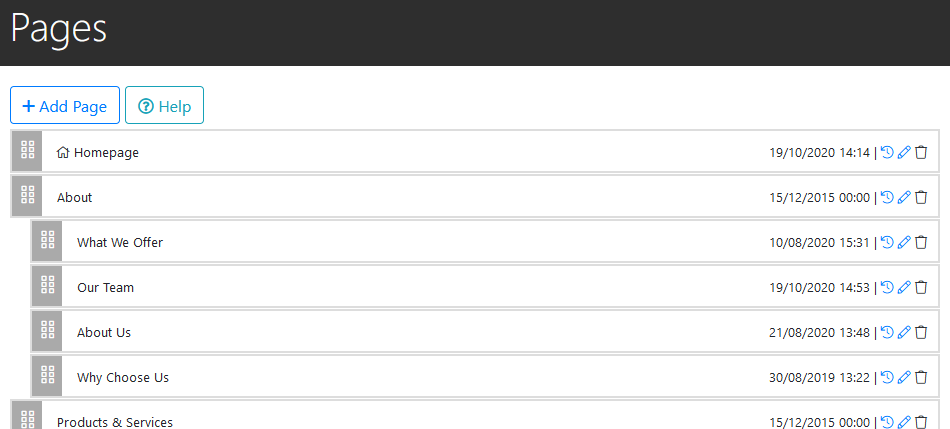
In the Main Navigation Menu go to Settings > Pages This will bring up the Page Hierarchy Editor which displays all of the User-Created pages that are part of your organisation's website:
Click the + Add Page button that appears above the list of pages, which will take you to a form where you will enter details of the new Page. Navigation Title This is the name of the Page as it will be displayed in the Main Navigation Menu.
Page Header This is the text that will be displayed at the very top of the page before your main content. If you do not enter anything in this field, it will default to the Navigation Title. This will also be the text that show up in the tabs of your web Browser (Internet Explorer, Chrome, Firefox .etc): Note: This will only display if the Show Header option (see below) is checked.
URL This is the web address that the page will be accessible from in a user's web browser. It will take the form yoursite.co.uk/page-url (substitute 'yoursite.co.uk' for your organisation's website address)
For example, if we were to enter 'wcs help section' into this field. This page would be available at: yoursite.co.uk/wcs-help-section: Note: Spaces are not allowed in web addresses, so any that you enter into this field will be replaced with hyphens (-)
Search Terms Enter any keywords of phrases here to help users find this page when using your built-in Site Search feature, alongside online search services such as Google and Bing. Each term should be separated by a comma:
Note: This section can be left blank if desired.
Published If this option is checked, the page will be marked as 'Published', and will be added to the Main Navigation Menu unless 'Hidden' (see below) is checked.
Hidden If this option is checked, the page will not show up in the Main Navigation Menualthough it will still be accessible to anyone who has the web address.
Show Header If this option is checked, the Page Header (see above) will be visible.
External Link If this option is checked, you will be able to send users to an external website if they try and access this page.
External Link URL (only visible if External Link option is checked) The external web address that users will be taken to if they try and access this page.
User Group Access Control which User Groups are able to access the page. Users who are not part of the Groups selected here will be denied access.
Once the Page details have been entered, click the Add Page button and your page will be added to the Page Hierarchy, and the Main Navigation Menu (unless Hidden was selectedin the options above).
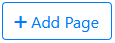 that appears above the list of pages, which will take you to a form where you will enter details of the new Page.
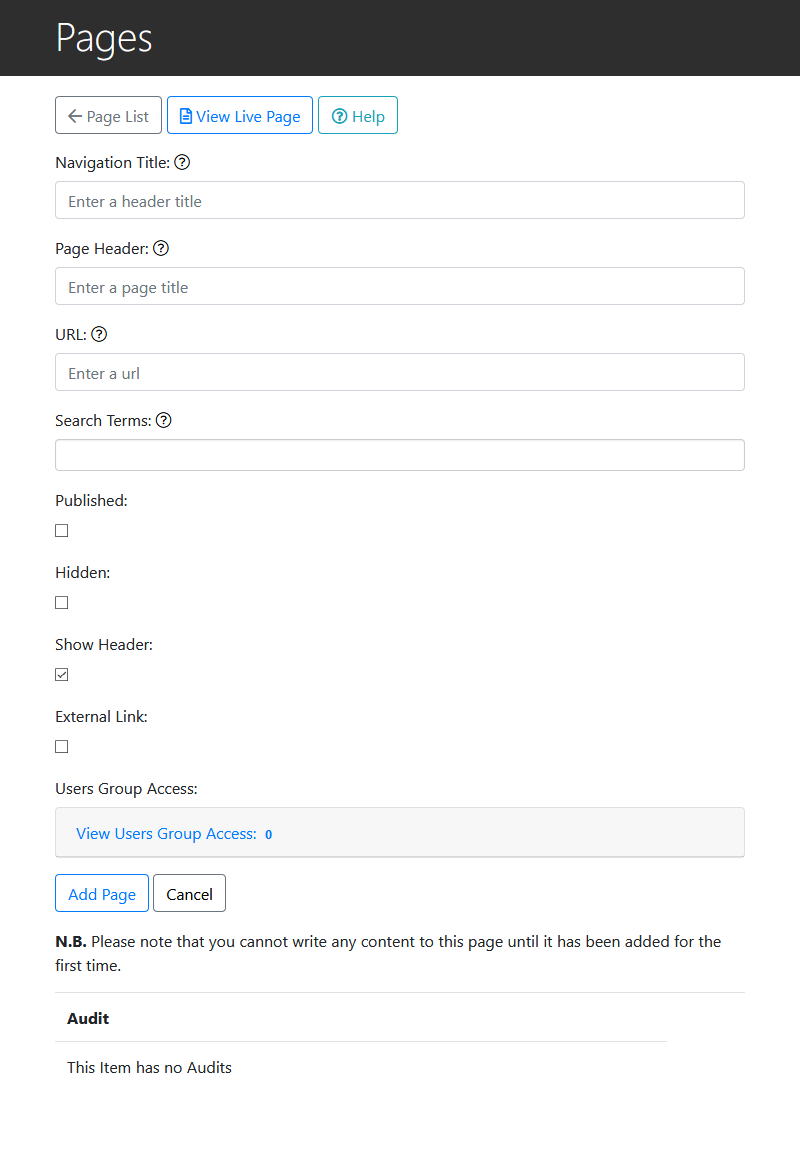


 and your page will be added to the Page Hierarchy, and the Main Navigation Menu (unless Hidden was selected in the options above).